Navigation auf uzh.ch

Suche

Faculty of Business, Economics and Informatics

Procedure for technical problems occurring during online examinations

On this page you will find basic instructions for the documentation of technical problems occuring during BYOD exams on site as well as remote online exams.

BYOD Exams with SEB

  • Report any technical problems to a supervisor immediately.
  • The supervisor will help you to resolve the problem and protocol the incident.
  • Finish your examination as normal.
  • At the end of the exam before leaving the room, visit the supervisors in front of the room. You will be asked to sign the protocol. You must also ensure that the SEB log files can be collected by the technical support on site.
  • Your particular situation and the respective problems can – upon petition – be reconsidered and taken into account in the evaluation after the examination. The written petition to the examination delegate (Submission of Petitions) must be submitted as a PDF within five days after the examination to deansoffice@oec.uzh.ch. The petition contains the address of the examination delegate, the date, the details of the examination (module, module code, module coordinator, examination day and time), the description of the problem and your request, as well as your signature. Refer to the exam protocol and the SEB log files in the petition.
  • Only petitions relating to technical problems can be considered that were protocolled during the exam and for which you ensured that the SEB log files could be collected by the technical support at the end of the exam before leaving the exam room.

Remote Exams

  • If a technical problem occurs, report it immediately through the designated contact channel to the contact person responsible for the respective examination (the lecturer will inform you in advance and at the right time for each examination). Please have the relevant exam-specific information for each examination ready so that you have it at hand in case of an emergency.
  • Try to use the link to access the examination or the individual modules immediately and repeatedly.
  • Report when and as soon as a re-entry was successful.
  • Finish your examination as normal.
  • Your particular situation and the respective problems can – upon petition – be reconsidered and taken into account in the evaluation after the examination. The written petition to the examination delegate (Submission of Petitions) must be submitted as a PDF including the enclosures within five days after the examination to deansoffice@oec.uzh.ch. The petition contains the address of the examination delegate, the date, the details of the examination (module, module code, module coordinator, examination day and time), the description of the problem and your request, as well as your signature.

Tips and Instructions

Here you can find answers on what to do in case of network problems, software errors and defective hardware, as well as helpful instructions.

Please read through and try carefully, if you have no experience with screenshots, first aid wifi trouble shooting or pinging. Exemplary ways are shown. Please check whether these work for you and use any alternatives you may know.

How does the authentication app work as a two-step login method?

  1. Follow the link: https://eduid.ch/web/edit-security-settings
  2. Under "Authenticator App" click on "On":
    2fa


  3. Open the Authenticator app on your smartphone.
  4. Tap on the plus sign (+) at the top right and select "Other (Google, Facebook, etc.)".
  5. Scan the QR code displayed on eduid.ch with your smartphone.
  6. Enter the six-digit code displayed in the Authenticator app under "eduID.ch" on eduid.ch.

The two-step login should now be activated and you should always see a six-digit code in the Authenticator app under "eduID.ch", which changes every 30 seconds. You use this code when logging in to OLAT.

If you receive the error message "Invalid two-step login code" when logging in to OLAT with the SWITCH edu-ID, you must link your edu-ID to the Authenticator app again:

  1. Follow the link: https://eduid.ch/web/edit-security-settings/
  2. Click on "Off" under "Authenticator App".
  3. Follow the instructions described above

What do I do if the UZH Wi-Fi does not connect?

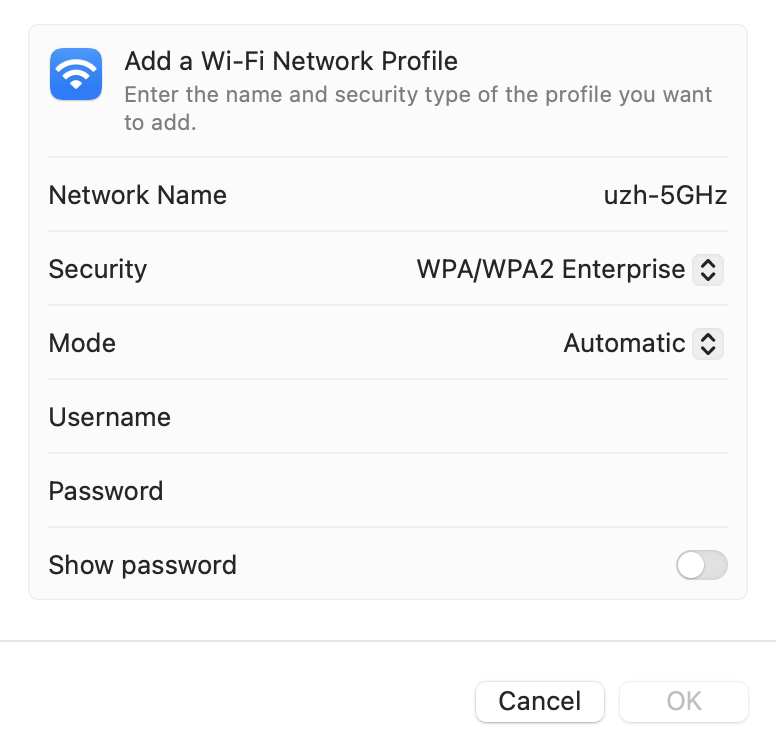
MacOS may experience connection problems with the Wi-Fi "uzh-5GHz". If this is the case, proceed as follows:

  1. Open the Wi-Fi settings.
  2. Click "Other..."
  3. Enter the following:
  • Network Name: uzh-5GHz
  • Security: WPA/WPA2 Enterprise
  • Mode: Automatic
  • Username: UZH shortname
  • Password: UZH password

What do I do if I have network problems?

Error report

A short summary, if possible consisting of one sentence, explaining the problem (no proposed solution).

  • Example: "The browser shows the website is not accessible (see screenshot)."

Steps for tracking and tracing

Brief and concise information, which makes it easy to understand the described problem, documented with screenshots of the entire desktop (including time).

Examples:

  • "When I tried to edit question xx, the message appeared: The website is not available. (see screenshot)"
  • "I'm at question xxx and can't load new questions."
  • "When I set a ping to 8.8.8.8 "no route to host" comes, or "Request timeout". So it seems to be due to the network connection."

You immediately communicate all this information to the exam-specific contact person via the channel specified for the examination. The contact person provides instructions on how to proceed.

Since the information could also be important in the context of a subsequent petition, you should definitely save and keep everything.

Additional tip: As an emergency solution with network problems, you can try to create a hotspot on your smartphone. Please try it out in advance so that you know how to do it.

What do I do in case of software errors?

Error report

A short summary, if possible consisting of one sentence, explaining the problem (no proposed solution).

  • Example: "Application [Application name] crashes (see screenshot)"

Steps for tracking and tracing

Brief and concise information, which makes it easy to understand the described problem, documented with screenshots of the entire desktop (including time).

Example:

  1. Start application [application name] (see screenshot)
  2. Enter data (screenshot)
  3. The error message 245 appears sporadically (see screenshot)
  4. Data is not saved (see screenshot)

Report actual and target status

Example actual status:

  • "Application [Application name] does not save the entered data."

Example target status:

  • "Application [Application name] should save the data at that point when you press continue."

What do I do if the hardware is broken?

Example: "My computer won't turn on anymore."

Call the specific contact number of your exam or call via mobile phone on the contact channel provided and describe your situation exactly.

Create Screenshots

Screenshots with Windows

  1. Press the [PrtScn] button. The screenshot is now in your clipboard.
  2. You can now open an image program like Paint and insert the screenshot with [Ctrl] + [V]. You can also insert the screenshot in Word.

Alternatively, programs like Snipping Tool can be used.

Screenshots with Apple

The simplest screenshot on the Mac is made with the key combination Cmd-Shift-3, which takes a picture of the entire screen visible at the moment the key is pressed.

Alternatively, you can take a screenshot of a certain area with the key combination Cmd-Shift-4.

The Mac saves the screenshots as PNG images on the desktop, each named "Screenshot [date] at [time]. From there, you can copy and paste the screenshot.

Basic troubleshooting tips for network problems

Disconnecting and restoring Windows WLAN

Left click on the try icon below, disconnect and reconnect.

Ein Bild, das Monitor, Bildschirm, Computer enthält.

Automatisch generierte Beschreibung

Disconnecting and restoring MacOS WLAN

Hold down the option key (alt) on your keyboard and left-click on the WLAN icon in the menu bar at the top of the screen.

You will now see a variety of network information, or additional data about your current network connection. Click on "Disconnect from network name" to terminate the connection to this WLAN network.

Ein Bild, das Screenshot enthält.

Automatisch generierte Beschreibung

The network connection is momentarily interrupted and you cannot access the Internet until you reconnect to a network. This method has the advantage that the WLAN is not deactivated. This can be especially useful if, for example, there are problems with the connection. It often helps if you are only disconnected from the existing connection for a short time.

Hold down the option key (alt) on your keyboard again and left-click on the WLAN icon in the menu bar at the top of the screen and reconnect the WLAN.

Ping (Measuring the response time of the Internet connection)

How do I create a ping with Windows (Windows Vista, Windows 8 and Windows 10)?

Click on the Windows logo and enter "cmd" in the search field. Wait a short time until "cmd.exe" appears in the list above and press the Enter key.

The MS-DOS prompt opens. Here you enter the command "ping" followed by a space and an IP or Internet address (it is best to use: ping 8.8.8.8) and confirm this with Enter. The results are now displayed.

How do I create a ping with Apple Macintosh (macOS)?

To access the terminal, you have the following options:

Go to the Finder and follow the Finder route "Go / Utilities / Terminal". Alternatively, you can also search in the spotlight ("Spotlight", magnifying glass icon in the upper right corner) for "Terminal".

When you are in the terminal, execute the following line (type and Enter): ping 8.8.8.8

By default, the command is executed in macOS until it is terminated with the following keys: Ctrl + C